How to start a resin business
A practical, step-by-step playbook for turning resin art, jewelry, and homeware into a real business — from your first clean pour to your first sale, with the workspace-safety and pricing details most "resin for beginners" guides skip.
- Startup cost
- $100 – $800
- Time to first sale
- 2 – 6 weeks
- Note: UV resin and small pieces cure fast and can reach a first listing in about 2–3 weeks; epoxy art and a tested, bubble-free process plus marketplace ramp-up usually take 2–6 weeks total.
- Difficulty
- Beginner-friendly
Last reviewed · Rates, fees, and regulatory thresholds in this guide can change — verify the linked sources before acting.


The short version
Starting a resin business is cheap and beginner-friendly, but three things have to go right. The first is safety: epoxy resin is a respiratory and skin sensitizer, and repeated careless exposure can cause a lasting allergy that ends your craft — ventilation, nitrile gloves, and a proper respirator are non-negotiable, not optional. The second is the craft itself: a clean, bubble-free, fully-cured pour takes practice (mix ratios by weight, pot life, heat to release bubbles, cure time), and an under-mixed batch that stays tacky is unsellable. The third is economics: resin pieces are often low-dollar and high-SKU (one design becomes dozens of color and size variants), so profitability is a volume-and-order-value game won with batching, smart pricing, and tight inventory rather than markup alone. Clear those gates and the upside is strong: a starter kit of resin, molds, pigments, and a scale runs under a few hundred dollars, the products (jewelry, coasters, trays, keychains, art) photograph and film beautifully, and Etsy plus short-form video give them an outsized reach. This guide walks each step in order, with rough cost ranges and free calculators for the mixing and pricing math.
Good fit if…
- You can set up a ventilated workspace and commit to gloves and a respirator every pour
- You enjoy iterating on color, inclusions, and finish across many small pieces
- You have $100–$800 of starter capital and want a low-cost craft to test
- You like selling on Etsy and through short-form video — resin's visual process and giftable, photogenic pieces are a strong fit for both
Probably not for you if…
- You can't ventilate your workspace or won't wear protective gear — resin sensitization is a real, lasting risk
- You want to sell food-contact items as food-safe — craft epoxy is almost never certified for direct food contact
- You expect a single low-priced keychain or charm to be meaningful income — resin is a volume-and-order-value game
- You're unwilling to practice until your pours are reliably bubble-free and fully cured
Tip: Resin has a low cost of entry and a low regulatory bar — no food permit, no cosmetic labeling. The real gates are a safe workspace (resin is a respiratory and skin sensitizer), a clean bubble-free pour, and pricing past the race to the bottom on a high-SKU product. All three are learnable in a few weeks of practice.
End-to-end timeline for a resin product line
A first piece can be poured the day your kit arrives, but a short practice pass — clean mixing, bubble release, and a full cure — is what separates a sellable piece from a tacky one. The stages below overlap in practice, so the end-to-end band runs about 2–6 weeks, with a midpoint near four. UV resin and small pieces shorten the cure stage and can reach a first listing in about 2–3 weeks.
- Set up + safety3–7 days
Set up a ventilated workspace, get a respirator and gloves, and assemble the starter kit of resin, molds, and pigments.
- Practice + dial in1–2 weeks
Practice mixing by ratio, bubble release, and full curing; lock a repeatable recipe per design and finish the demolded pieces.
- Photograph + list2–4 days
Shoot clean product and in-context photos, write listings, set prices, and plan set/bundle offers.
- Search ramp + first orders1–2 weeks
Listings get indexed; first views, favorites, and conversions arrive. Short-form video can accelerate this.
2–6 weeks to first sale
The 8-step playbook
Run these in order. Skipping ahead is the most common reason new makers ship inconsistent product or under-price their work.
Step 1: Choose your resin type and products
Two decisions drive every cost downstream: which resin chemistry you'll use, and what you'll make. Resin types behave very differently — cure time, thickness, and difficulty all change — so match the resin to the products you want to sell.
Resin types compared
Match the chemistry to your products. General-purpose epoxy is the versatile start; UV resin suits small jewelry; deep-pour epoxy is for thick art and homeware.
| Option | Cure time | Best for | Difficulty | Main watch-out |
|---|---|---|---|---|
Epoxy resin General-purpose art & casting. | 24–72 hours full cure | Coasters, trays, jewelry, art | Beginner-friendly | Bubbles; exact mix ratio by weight |
UV resin Cures under a UV lamp. | Minutes under UV | Small/thin jewelry and charms | Beginner-friendly | Thin layers only; costlier per gram |
Deep-pour casting epoxy For thick pours. | Days (slow by design) | River tables, large molds, homeware | Moderate | Depth limits per pour; heat build-up |
Polyester resin Cheap, strong, fume-heavy. | Fast (minutes to hours) | Fiberglass, specific casting | Advanced | Strong fumes; short working window |
Cure times and ratios are illustrative and vary by brand and pour thickness — always follow the specific product's technical data sheet for mix ratio, pot life, depth limits, and cure schedule.
"Resin" covers several different chemistries. The right one depends on what you're making:
- Epoxy resin — the workhorse for coasters, trays, jewelry, and art. Mixed 1:1 or 2:1 by weight or volume, self-leveling, with a working time (pot life) of roughly 20–45 minutes for many common hobby epoxies (it varies by brand and temperature) and a full cure measured in 24–72 hours. The most versatile and beginner-common choice.
- UV resin — cures in minutes under a UV lamp. Ideal for small, thin pieces like jewelry and small charms; not suited to thick pours. Fast and convenient, but more expensive per gram and limited in depth.
- Deep-pour casting epoxy — formulated for thick pours (river tables, large molds) without overheating. Longer cure, specific depth limits per pour; for larger art and homeware.
- Polyester resin — cheaper and very strong, but strong fumes and a shorter working window make it less common for home crafters; mostly used for specific casting and fiberglass work.
Most resin sellers start with a general-purpose epoxy for coasters, jewelry, and small art, adding UV resin if they focus on jewelry or deep-pour epoxy if they move into larger homeware. The comparison table above lays out the trade-offs in cure time and difficulty.
Step 2: Set up a safe workspace
This step comes before business basics on purpose. Resin is a respiratory and skin sensitizer, and careless repeated exposure can cause a lasting allergy that forces makers to quit entirely. A safe setup is the foundation everything else sits on.
Uncured resin and its hardener give off vapors and can sensitize your skin and airways over time — uncured epoxy, hardener, and diluent are well-documented skin and respiratory sensitizers (see DermNet's overview of epoxy resin allergy (opens in new tab), and always read your product's safety data sheet). The danger isn't one dramatic exposure — it's repeated small ones building into an allergy. Set the workspace up properly before your first serious batch:
- Ventilation. Work in a well-ventilated space with moving air — ideally near exhaust. Many makers use a dedicated room or a fume-extraction setup. A closed bedroom is not adequate.
- A fitted respirator. A respirator with organic-vapor cartridges (not a dust mask, which does nothing for vapors) is standard for regular resin work.
- Nitrile gloves — every pour, every time. Latex is not recommended for resin work; skin contact is the main sensitization route. Replace gloves if they get coated.
- A protected, level surface — a silicone mat and a level table; cured resin drips are a pain to remove and an unlevel pour cures crooked.
- Follow the technical data sheet for your specific resin — mix ratio, pot life, depth limits, and cure schedule vary by product and must be followed exactly.
Treat protective gear and ventilation as required startup costs (the kit is itemized in step 4), not optional extras. The callout below is the single most important warning in this guide.
Safety warning: Resin sensitization tends to be lasting — avoidance, not a cure, is how it's managed
This is the one risk on this page you cannot count on undoing. Uncured epoxy and its hardener are sensitizers, and the danger is cumulative: it isn't one bad exposure but many small careless ones that build into an allergy. Once that allergy develops, avoidance is typically the only reliable way to manage it — the allergy tends to persist, and makers who reach that point usually have to stop working with resin entirely. That is why the gear in this step is non-negotiable on every single pour, even the quick ones, and why following your resin's safety data sheet (SDS) for the right cartridge type matters as much as wearing the respirator at all.
Step 3: Handle the business and legal basics
With safety sorted, the business setup for resin is light — no food permit, no cosmetic labeling. It's ordinary small-business basics, plus a couple of product-claim rules specific to resin.
Resin art and jewelry carry almost no product-specific regulation in the U.S. The setup is the ordinary business kind:
- A business structure. Most resin sellers start as a sole proprietorship or form a single-member LLC for liability separation. See the SBA's guide to choosing a business structure (opens in new tab), and use the IRS online EIN application (opens in new tab) (free) if you form an LLC or sell wholesale.
- A state sales-tax permit in states with sales tax (most have one). Etsy collects and remits sales tax for you in most states — see the Etsy Seller Handbook guide to marketplace-facilitator sales tax (opens in new tab) — but you typically still need the permit to operate, so verify your state's rules.
- Product liability insurance — low priority early. Pick it up if a craft fair or wholesale buyer requires proof of coverage; many vendor applications do.
Two product-claim rules specific to resin:
- Don't market items as food-safe unless the specific resin is certified for direct food contact under FDA's food-contact coating rules (21 CFR 175.300) (opens in new tab) — most craft and hobby-grade epoxy is not, so check your resin's technical data sheet and the manufacturer's food-contact statement rather than the product listing. Coasters and trays should be sold as decorative or for items-on-top use, not for food touching the surface, and serving boards need a food-safe surface.
- California Prop 65 may require a warning if you sell into California; check whether your products and sales fall under it on the official Prop 65 warnings website (opens in new tab).
Don't over-build: forming an LLC before any sales and buying accounting software before $500 in revenue are common wastes. A separate business checking account on day one is enough.
Step 4: Buy your starter supplies
A resin starter kit is genuinely cheap, and you can produce sellable pieces within a week of practice. Resist a bulk supply run before you've tested your pours — buy a small, focused kit first.
A workable resin starter kit, sized to test designs and produce your first listings:
- Safety gear first — a respirator with organic-vapor cartridges and a box of nitrile gloves: roughly $30–$80. From step 2, these are required.
- Resin and hardener — a general-purpose epoxy kit: about $25–$60 to start (and a UV resin + lamp set, roughly $20–$80 depending on lamp wattage and quality, if you're doing jewelry).
- A digital scale (0.1 g resolution) for accurate mix ratios by weight: $15–$30. Accurate measuring is the difference between a hard cure and a tacky, unsellable piece.
- Silicone molds — coasters, trays, jewelry, bookmarks: $15–$60 depending on range. Molds are reusable, so this is a one-time cost per shape.
- Pigments, dyes, and inclusions — mica powders, alcohol inks, dried flowers, glitter: $20–$60 for a starter range.
- Mixing cups, stir sticks, and a heat gun or torch for releasing bubbles: $15–$40.
- Finishing supplies — sandpaper (wet/dry) and a polish for cleaning up edges and demolded surfaces: $10–$25.
- A pressure pot (optional, later) — for genuinely bubble-free clear casts, $100–$200, plus an air compressor to drive it if you don't already have one. Add once you're selling clear pieces, not on day one.
Total starter outlay: roughly $100–$300 for a basic kit with safety gear; around $300–$500 for a mid-range kit that adds UV resin and a lamp for jewelry plus a wider mold and pigment range; and up to about $800 once you add a pressure pot and air compressor for bubble-free clear casts. Buy for your first few designs, then reinvest sales into more molds and colors.
Step 5: Mix, pour, cure, and finish
This is the craft, and it's a recipe: exact mix ratio, thorough blending, bubble release, and a full cure. An under-mixed or under-cured batch stays tacky and is unsellable, so build a repeatable process before you build a catalog.
A clean resin piece comes from following the same recipe every time. The common failure points are all in the process, not the design.
Mix exactly
- Measure by the ratio on the technical data sheet — usually by weight on a scale, sometimes by volume. Off-ratio resin won't cure properly: too much hardener or resin leaves a sticky or soft piece that never sells.
- Mix thoroughly and scrape the sides. Under-mixing leaves streaks and tacky spots. Mix slowly to avoid whipping in extra bubbles.
- Respect pot life — once mixed, you have a working window before the resin thickens. Pre-stage your molds, colors, and inclusions before you mix.
Pour, de-bubble, and cure
- Release bubbles with a quick pass of a heat gun or torch after pouring (and a pressure pot for clear casts). Bubbles are one of the most common cosmetic defects in resin work.
- Cure fully and undisturbed — follow your product's cure schedule (often 24–72 hours for epoxy, but it varies by brand) in a dust-free, level spot before demolding. Demolding early leaves dents and soft spots.
- Finish the piece — sand any rough edges or flashing (the thin film of resin that seeps into mold seams) with wet/dry sandpaper and polish; add jewelry hardware (jump rings, clasps, ear hooks), backing, or felt as needed.
Keep a short log of resin brand, ratio, colorants, mold, and cure time per design. That log becomes your repeatable production recipe — it stops you re-guessing every batch and is exactly the kind of record Ardent Seller is built to hold (step 8).
Step 6: Price your resin pieces to make money
Resin pieces are often low-dollar and high-SKU, so profitability is a volume-and-order-value game, not a high-ticket one. Cover your materials, mold wear, and (especially) your labor, then use sets and bundles to lift the order value.
A common starting point in craft pricing is 3–4× materials cost as the retail target — but that formula assumes materials are the dominant input. On a small resin piece, labor dominates instead, so the achieved multiple on total cost (materials plus labor) lands closer to 2×, and order value matters as much as per-unit markup.
What a 4-inch coaster actually costs
A worked example: a coaster takes about 60 g of mixed epoxy. At a typical kit price (the $25–$60 starter range from step 4 works out to ~$0.04/g at the mid-range used here) that is roughly $2.40 of resin, plus ~$0.40 of pigment and ~$0.30 of mold wear (a $15 mold amortized over ~50 pours) — about $3.10 in materials. Add 15 minutes of hands-on time at $20/hr (~$5) and the piece costs around $8 before fees. A single coaster like this might retail around $14–$18 — closer to 2× its total cost than the 3–4× rule above, because labor dominates a small piece. And that multiple is before selling fees: at the $16 midpoint of that range, once marketplace fees come out, the net multiple slips toward 1.6–1.8× (lower still if you price at the $14 end), which is exactly why the Etsy fee calculator in step 7 belongs in your pricing math rather than as an afterthought.
The cost lines that make up that ~$8:
- Resin and hardener — the share of the mixed batch that ends up in the mold: ~$2.40 for this 4-inch coaster (less for jewelry, more for a tray).
- Pigment and inclusions — mica powders, alcohol inks, and dried flowers: ~$0.40 for this coaster, a small but real per-piece cost. Jewelry pieces add hardware instead (jump rings, clasps, ear hooks).
- Mold wear — molds degrade over many pours; ~$0.30 here ($15 mold ÷ ~50 pours), amortized across the pieces each mold produces.
- Labor — mixing, pouring, de-bubbling, demolding, sanding, and finishing: ~$5 for 15 minutes at $20/hr (the long cure is elapsed, not hands-on, time). Track your hands-on minutes per batch to get a true figure.
The levers that actually move a resin business:
- Batch your pours. One mixed batch can fill several molds — the marginal cost of the second and third piece in a pour is much lower than the first, so batching similar pieces is how you protect margin.
- Sell sets and bundles. A set of four coasters with a holder, or a jewelry pair, recovers far more labor per transaction than singles — the highest-leverage pricing decision for low-dollar pieces.
- Account for breakage and seconds. Bubbles, dust, and off-ratio pieces happen; build a small defect allowance into your price rather than pretending every pour is perfect.
Run the calculators below on your own resin cost, mold amortization, and labor before listing — the figures above are illustrative and shift with piece size, resin price, and design complexity.
Step 7: Choose where to sell
Resin is a near-perfect fit for online marketplaces and short-form video — the products are visual, giftable, and oddly satisfying to watch being made. Each channel trades fees, reach, and effort differently.
The common starting channels for resin sellers:
- Etsy — a large built-in audience searching for resin jewelry, coasters, trays, and art, and a strong fit for a visual, giftable product. Be aware of the stacked fee load (listing, transaction, payment processing, plus optional Offsite Ads — see Etsy's fees policy (opens in new tab)); the percentage bites harder on low-priced pieces, which is exactly why sets and bundles matter. The full fee breakdown and setup walkthrough are in Ardent Seller's step-by-step Etsy seller guide.
- Short-form video (TikTok / Instagram Reels) — resin pours, de-bubbling, and demolding are reliably satisfying to watch, and the production cost is your phone. For a visual process like resin, video can be worth the time early rather than in "phase 2," and it pairs naturally with TikTok Shop or driving traffic to Etsy.
- In-person — markets, craft fairs, and conventions — resin jewelry and small décor are classic impulse buys; high margin (no platform cut), instant feedback, and card sales via a Square reader.
- Your own Shopify / Squarespace store — no platform cut and full control, but you drive every visitor. Usually a phase-2 channel once Etsy or social has built a base.
- Wholesale to boutiques and galleries — predictable repeat orders at wholesale price; build a simple line sheet with photos, wholesale pricing, minimum order, and lead time.
A common opening combination is Etsy plus a TikTok or Instagram presence — one brings searchable traffic, the other brings viral reach and feedback. Across every channel, clean listing photos and a simple shop banner lift conversion (Canva is the common free tool for both). Pick one channel to start, ship for a few weeks, then layer the second. Whatever the mix, you'll need to track stock across all of it — that's what step 8 covers.
Step 8: Track inventory, costs, and taxes from day one
Resin creates a SKU-count problem fast — one design becomes many color, size, and finish variants. Staying on top of stock, true cost per piece, and taxes is the operational reality once sales start.
For a handful of designs a spreadsheet is fine. Past that point the math gets brittle:
- One design becomes a dozen SKUs (color × size × inclusion) and a spreadsheet stops tracking which variants are actually in stock.
- You buy resin by the kit and pigments by the jar but price per piece — manual cost-per-unit math drifts as material prices and batch sizes change.
- An Etsy order ships and you forget to deduct the materials; you oversell a popular design at a market the same weekend.
- Etsy fees and shipping need to land per-order for Schedule C; a single "platform fees" lump hides which designs quietly lose money.
- Tax time arrives and you can't tell the IRS what the pieces you sold cost to produce.
As a rough guide, dedicated software tends to start paying for itself once a shop is past roughly 20–30 active designs or SKUs, or selling across more than one channel. Ardent Seller fits this directly — track resin, pigments, molds, and jewelry hardware as inventory; build each design and its sets and bundles as products with auto-generated SKUs across color and size; model your mix ratios as recipes; and see true cost per piece including material and labor. The Tools section below covers the range from free spreadsheets up.
Two tax items to keep separate: sales tax (Etsy collects and remits for most US states as a marketplace facilitator, but you still report gross sales and hold the permit from step 3) and income tax (resin profit goes on Schedule C; quarterly estimated taxes via IRS Form 1040-ES (estimated taxes) (opens in new tab) are typically required once you expect to owe $1,000+ for the year and don't have enough withheld from other income, such as a W-2 job).
The tools section
Tools to consider
A short, honest list — Ardent Seller alongside the other tools most resin business owners end up using.
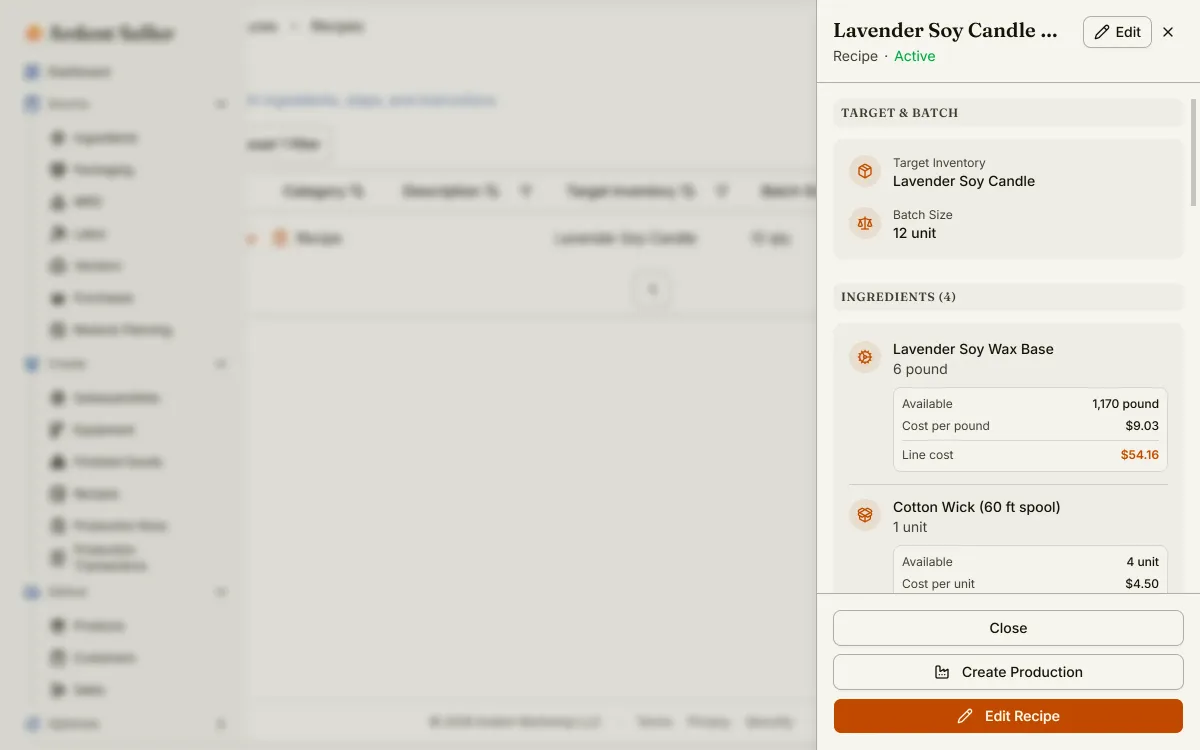
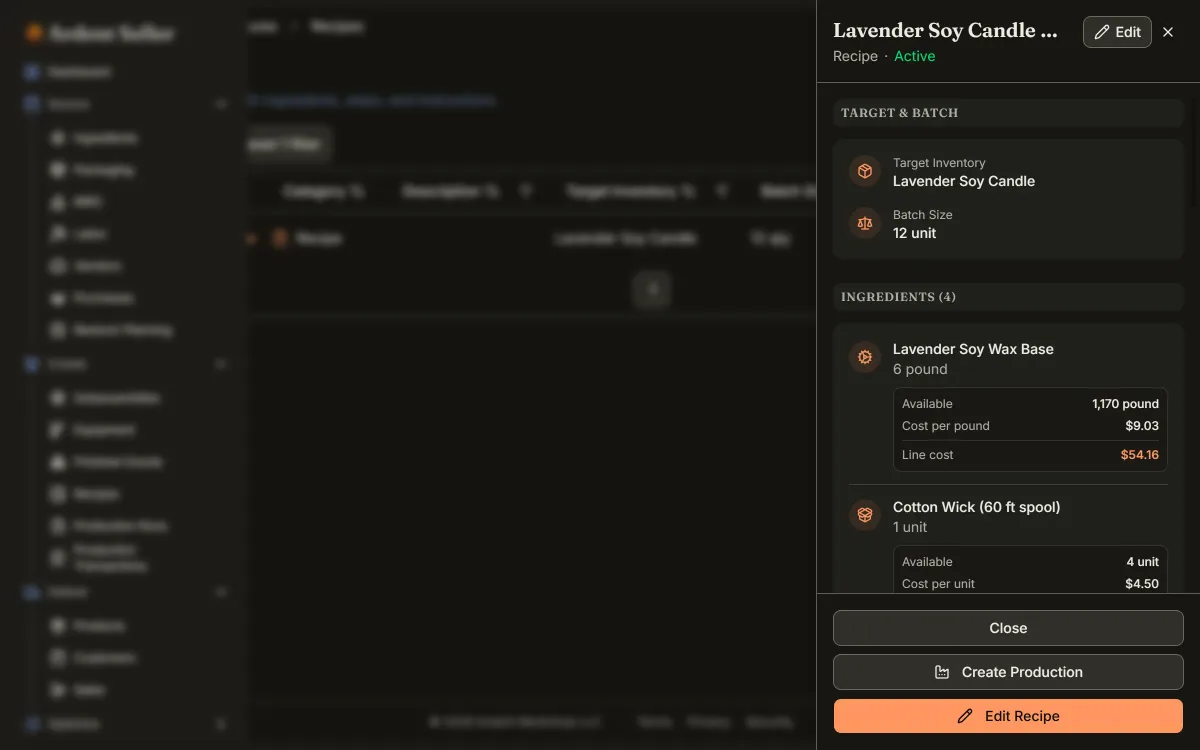
Track resin, hardener, pigments, molds, and jewelry hardware as inventory; build each design and its set and bundle offers as products with auto-generated SKUs across color and size; model your mix ratios as recipes; and see true cost per piece including material waste and labor. The free plan covers a small catalog and includes Etsy sync for one connected shop; paid plans add more sales channels and deeper reporting.
Free design tool for listing graphics, packaging inserts, and social posts. A common starting point for a resin shop's visual branding.
A common first channel for resin jewelry, coasters, and art — built-in marketplace traffic surfaces a new shop quickly. Be aware of the stacked fee load (listing + transaction + payment processing, plus optional Offsite Ads) and that the fee percentage bites harder on low price points.
Card reader and point-of-sale for selling resin jewelry and décor at markets, craft fairs, and conventions. Free app; pay per-transaction processing on in-person sales.
Tracks income and expenses for tax purposes, categorizes purchases automatically, and exports a Schedule C summary at year-end. Pricing changes — see Intuit's pricing page for current rates.
Common mistakes to avoid
The patterns that show up over and over in the first year.
Working without ventilation or protective gear
The most serious resin mistake. Pouring without real ventilation, nitrile gloves, and an organic-vapor respirator risks a lasting skin and respiratory sensitization that can end your craft entirely. This isn't about one bad day — it's cumulative. Treat safety gear as required setup, every pour (step 2).
Measuring the mix ratio by eye
Off-ratio resin doesn't cure properly — too much hardener or resin leaves a sticky, soft, or bendy piece that can't be sold and can't be fixed. Measure by weight on a digital scale to the ratio on the technical data sheet, mix thoroughly, and scrape the sides (step 5).
Selling resin items as food-safe
Craft and hobby-grade epoxy is almost never certified for direct food contact, so marketing coasters or trays as food-safe is a false claim. Sell them as decorative or for items-on-top use, and don't put food directly on a resin surface unless the specific resin is food-contact certified (step 3).
Pricing singles to the bottom and ignoring order value
A single low-priced keychain nets little after materials, fees, and shipping, so racing competitors to the lowest single-item price is a losing game. The real lever is order value — sets, pairs, and bundles recover far more labor per transaction. Batch your pours and price the set, not just the unit (step 6).
Demolding or selling before a full cure
Resin needs its full cure (often 24–72 hours for epoxy) undisturbed before demolding and sale. Rushing leaves dents, soft spots, and pieces that keep off-gassing. Follow the cure schedule and test before listing (step 5).
Mixing personal and business money
Open a separate checking account on day one — even before you form an LLC. At tax time the difference between five minutes and five hours of bookkeeping is whether the resin, molds, and Etsy deposits sit in their own account.
Frequently asked questions
The questions new makers ask most often.
Do I need a license to sell resin crafts?
In most U.S. states, no specific license is required to make and sell resin art and jewelry — it isn't a regulated product category like food or cosmetics. You'll typically need a general business registration with your state or city and a sales-tax permit if your state has sales tax. The bigger issues for resin aren't licensing — they're workspace safety, not marketing items as food-safe unless the resin is certified for food contact, and (if you sell into California) checking whether Prop 65 warnings apply.
Is resin safe to work with at home?
It can be, with the right precautions — but it carries real risks that have to be respected. The biggest one is sensitization: uncured epoxy resin and hardener are respiratory and skin sensitizers, and repeated careless exposure can build into a lasting allergy that, once it develops, tends to persist and forces people to stop working with resin entirely. Avoidance is typically the only reliable way to manage it, which is why prevention matters so much. Always work in a well-ventilated space, wear nitrile gloves on every pour (latex is not recommended — epoxy can permeate thinner latex gloves, and a latex sensitivity only compounds the risk), and use a respirator with organic-vapor cartridges rather than a dust mask. Follow your specific resin's technical data sheet for safe handling, and see step 2 for the full workspace setup. A closed, unventilated room is not an adequate workspace.
How much does it cost to start a resin business?
A realistic range is $100 to $800. A basic starter kit — safety gear (respirator and nitrile gloves), a general-purpose epoxy kit, a digital scale, a few silicone molds, pigments, and mixing supplies — runs roughly $100–$300. Adding UV resin and a lamp for jewelry, a wider range of molds and pigments, and a pressure pot for bubble-free clear casts pushes the upper end toward $800. Molds and the scale are reusable one-time costs, so most makers start small and reinvest early sales into more shapes and colors.
Why is my resin sticky or not curing?
The most common cause is an inaccurate mix ratio — too much or too little hardener — or under-mixing that leaves unblended resin in streaks and on the sides of the cup. Resin must be measured to the ratio on its technical data sheet (usually by weight on a digital scale), mixed thoroughly with the sides scraped, and left to cure fully and undisturbed for the time the product specifies, often 24–72 hours for epoxy. Cold temperatures, expired resin, and disturbing the piece mid-cure can also cause soft or tacky results. An off-ratio piece generally can't be fixed, which is why accurate measuring matters so much.
Can I sell resin coasters and trays as food-safe?
Not unless the specific resin you use is certified for direct food contact — and craft and hobby-grade epoxy almost never is. You can sell resin coasters and trays as decorative items or for holding objects (a cup on a coaster, items on a tray), but you shouldn't market them as food-safe or for food to touch the surface directly unless the resin's manufacturer certifies it for food contact. Misrepresenting food safety is both a false claim and a real safety issue, so describe pieces accurately and keep food off uncertified resin surfaces.
How do I get rid of bubbles in resin?
Bubbles are one of the most common cosmetic defects in resin, and there are a few ways to manage them. Mix slowly to avoid whipping air in, let the mixed resin rest briefly so bubbles rise, and after pouring pass a heat gun or torch quickly over the surface to pop the bubbles that reach the top. For genuinely bubble-free clear casts — where every bubble shows — a pressure pot, which cures the piece under pressure to shrink any remaining bubbles, is the reliable solution, though it's usually an upgrade you add once you're selling clear pieces rather than a day-one purchase.
Where should I sell resin crafts first — Etsy or social media?
Many resin sellers run both in parallel because they complement each other. Etsy provides built-in search traffic and is a strong fit for visual, giftable products, though it stacks listing, transaction, payment-processing, and optional Offsite Ads fees that bite harder on low-priced pieces. Short-form video on TikTok and Instagram is unusually effective for resin because pour and demold clips are satisfying to watch, and it costs only your phone and consistent time. A common approach is to list on Etsy for searchable traffic and post short-form video to drive reach and feedback — pick one to start, ship for a few weeks, then add the second.
Free resources
Hand-picked calculators, checklists, and templates that map directly to the steps above.
Live web version of our Excel pricing calculator. Materials + labor + packaging + platform fees → defensible retail at your target margin, with batch-pricing tiers.
Pick a target hourly rate, enter your materials, hands-on minutes per unit, and platform fees — the calculator returns the minimum price that actually pays you that rate after fees and costs. Maker-business specific, not a "freelance day rate" tool.
A working Excel recipe scaler — enter a base recipe, set a target yield, and every ingredient auto-scales with unit conversions (oz/g/lb/ml/cups). Plus a batch-cost tab and a unit-conversion reference.
Live Etsy fee calculator updated for 2026. Enter item price, shipping, country, COGS, and ad spend — see listing, transaction, payment processing, Offsite Ads, and regulatory operating fees broken out line by line, plus your true net profit per sale.
A vendor-neutral PDF primer on building a real SKU system — prefix conventions that survive variants and reorders, when barcodes start paying for themselves, free vs. paid barcode options, and a one-page printable cheat sheet for the workbench wall.
36 things to set up before — and after — your first sale. Inventory, pricing, and the legal essentials in one place.
A working Excel inventory tracker for makers — raw materials, finished goods, packaging, and a purchase log. Reorder thresholds and a status column do the math; conditional formatting flashes red when you are below the line.
A printable six-page playbook for handmade-goods producers — five planning principles, the demand-driven batch-sizing formula, and four worksheets for sizing, run logging, weekly WIP, and post-run audit.
A free, scoped-for-small-sellers economic-nexus checker. Enter your trailing 12-month sales and transactions per state, and the tool flags every state where you have probably crossed the post-Wayfair economic-nexus threshold — without pushing you into a filing product.
Walk through the nine factors of Treasury Regulation §1.183-2(b) and find out whether your side activity qualifies as a for-profit business or a hobby for federal tax purposes — and where to focus to strengthen the business case.
When a spreadsheet is enough, when it stops working, and how to tell the difference before it costs you.
A working Excel worksheet for sellers reconciling Etsy + Shopify + in-person sales against bank deposits — surfaces fee shortfalls, refund mis-postings, and a per-channel monthly P&L.
Read next
Deeper dives on the topics that come up in the guide.
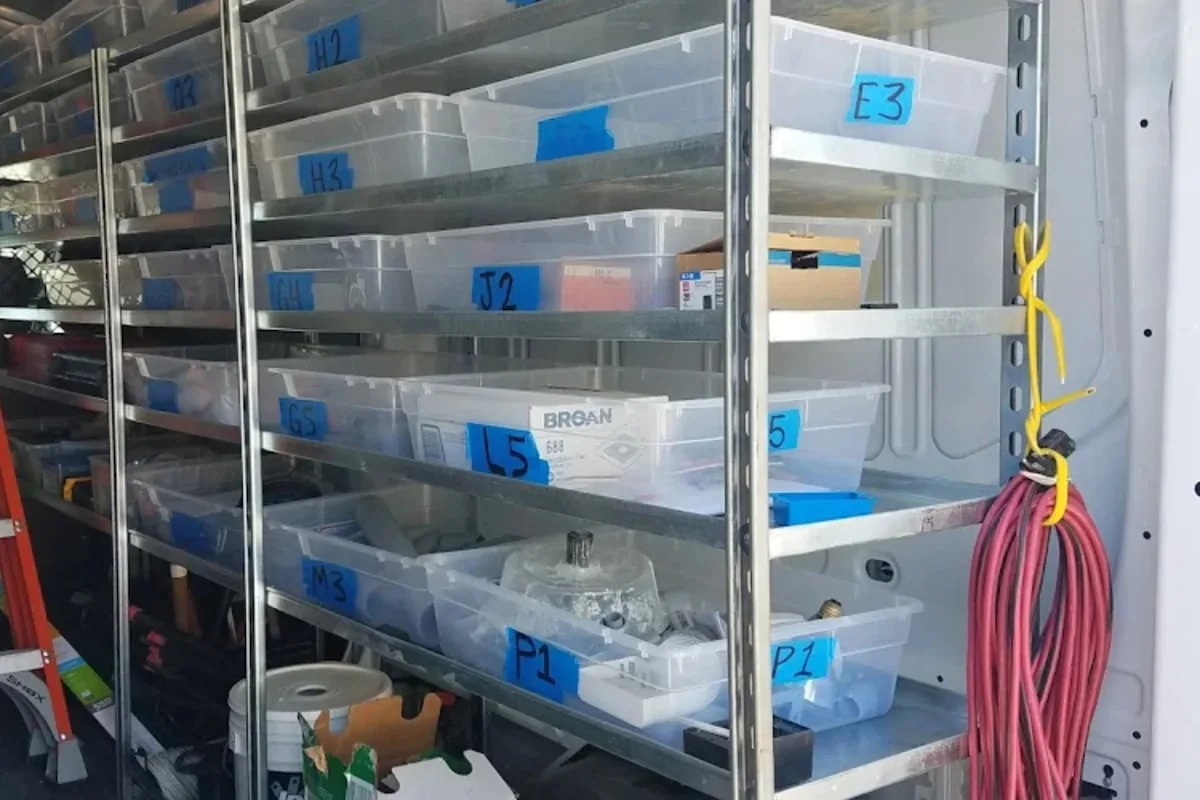
Most small sellers build their first SKU system on a Tuesday afternoon in a hurry and regret it for the next three years. Here is how to name, number, and organize your products so you can find anything in seconds — and how to fix the mess if you already built one.

A buyer's guide to the inventory apps Etsy sellers actually evaluate in 2026 — Ardent Seller, Craftybase, Inventora, Sortly, and Zoho Inventory — with the five questions that decide which one is right for your shop, a side-by-side comparison, and the case where the right answer is "none of these."

A seller who adds 50% to cost and calls it a "50% margin" is actually running a 33% margin and subsidizing their own business. Here is the difference between margin and markup, why the confusion costs real money, and the pricing math that separates the sellers who stay open from the ones who quietly close up shop.

The postage label is the cheap part. Dimensional weight, packaging, label software, free-shipping subsidies, and processor fees on the freight charge all quietly stack up on every order you send. Here is the full cost anatomy of a shipped package, and the tables that show where your margin actually goes.
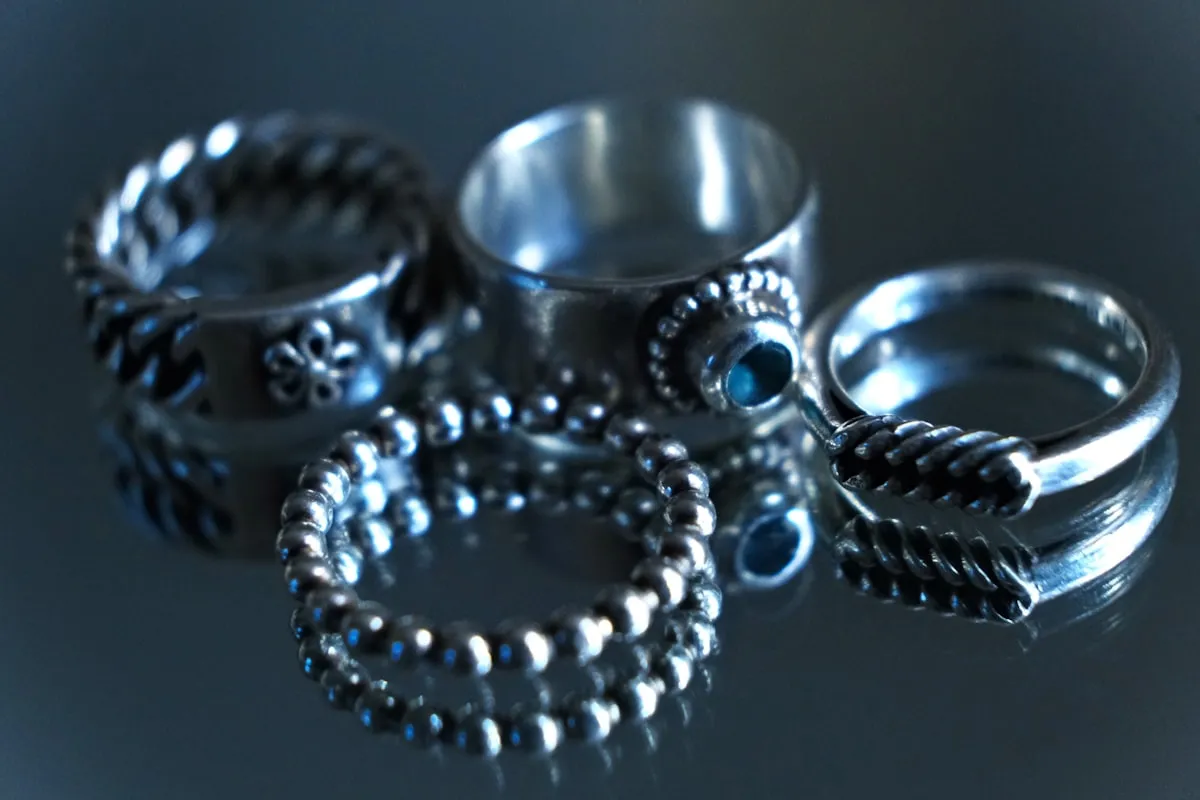
Gold and silver prices shift daily, gemstones are priced per carat, and findings come in bulk bags where a third vanish into the carpet. Jewelry costing demands gram-level precision that most inventory guides skip entirely. Here is how to track every component and price your pieces for real profit.
Once you're selling, you'll need to track it
Tracking inventory, costs, and taxes across every batch and every channel is the operational reality once sales start. Ardent Seller is purpose-built for this.
Resin jewelry makers, art creators & epoxy crafters
Ready to start?
Track every batch, recipe, and sale from day one of your resin business. Free plan, no credit card.