The filament is the cheapest part of every print you sell. That might sound wrong if you've been pricing your products by weighing a finished print and multiplying by the cost per gram of PLA. But filament often accounts for well under half of your true production cost — as the worked examples later in this post show. The rest is hiding in your electricity bill, your nozzle replacements, the prints that failed at 80% completion, and the hour you spent sanding and painting a miniature that you priced based on 12 grams of plastic.
If you've been selling prints based only on material cost, you've been subsidizing every customer who buys from you. The good news: fixing it isn't complicated. You just need to stack up the real costs, one layer at a time.
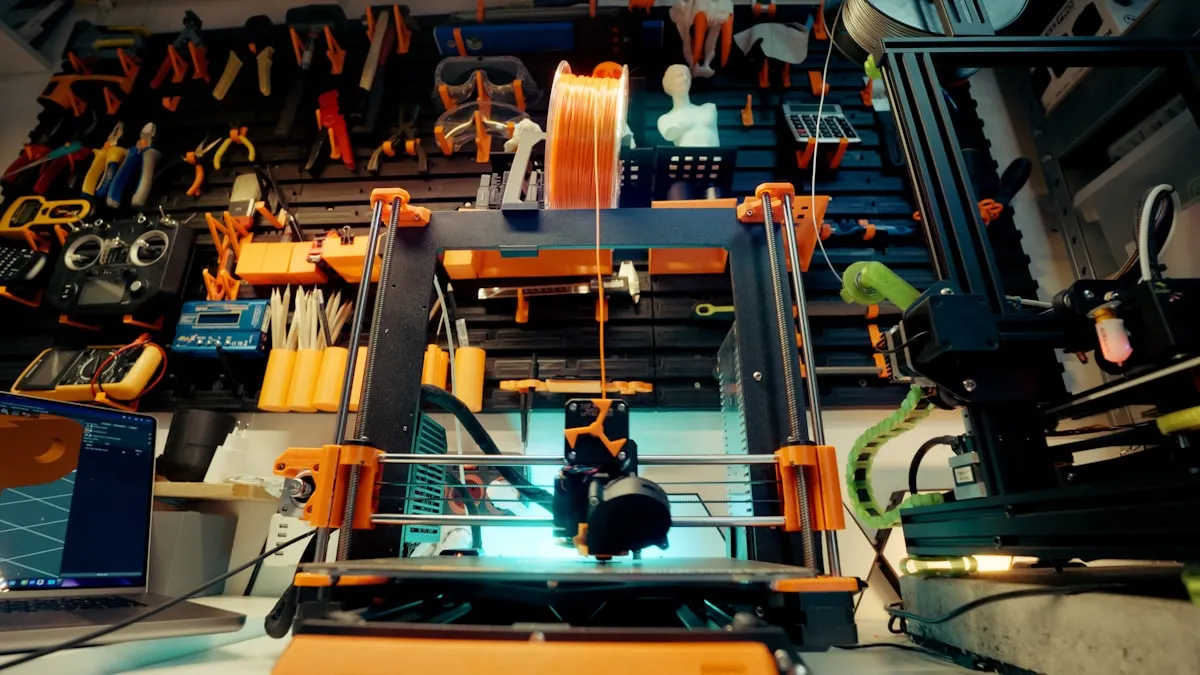
Layer 1: Filament Cost (The Part You Already Track)
Start with what you know. A 1kg spool of PLA costs $20-30. A 1kg spool of PETG runs $25-35. Specialty filaments — TPU, ASA, carbon fiber composites, silk PLA — range from $30 to $60+ per kilogram.
Your slicer tells you exactly how much filament a print uses in grams. Multiply that by your cost per gram and you've got your material cost. Simple.
| Filament | Spool Price | Cost Per Gram |
|---|---|---|
| PLA (standard) | $22.00/kg | $0.022 |
| PETG | $28.00/kg | $0.028 |
| TPU 95A | $35.00/kg | $0.035 |
| ASA | $32.00/kg | $0.032 |
| PLA Silk | $30.00/kg | $0.030 |
| Carbon fiber PLA | $45.00/kg | $0.045 |
A 50-gram print in standard PLA costs $1.10 in filament. A 200-gram functional part in PETG costs $5.60. These are real numbers you can calculate for any print before it starts.
But here's where most sellers stop — and where the real costs begin.
Don't Forget Support Material and Waste
Your slicer reports filament usage for the model and supports combined, but many sellers only think about the model weight. A print that uses 50g of filament for the actual part might use 65g total once you add tree supports, a raft, and the purge line. That's 30% more material than the number in your head.
Track the total filament consumed per print, not just the model weight. If you're using soluble supports (PVA, HIPS), track that as a separate material cost — soluble filament runs $40-60/kg, and even a small amount adds up fast.
Layer 2: Electricity
A standard FDM desktop printer draws 100-250 watts depending on the model, heated bed temperature, and hotend temperature. That doesn't sound like much until you're running 12-hour prints.
Here's the math. Take your printer's average power draw in watts, multiply by print time in hours, and divide by 1,000 to get kilowatt-hours. Then multiply by your electricity rate.
Electricity cost = (Watts x Hours) / 1,000 x Rate per kWh
The average US residential electricity rate is about $0.16/kWh (EIA Electric Power Monthly). With a printer drawing 200W:
| Print Time | Energy Used | Cost @ $0.16/kWh |
|---|---|---|
| 2 hours | 0.4 kWh | $0.06 |
| 8 hours | 1.6 kWh | $0.26 |
| 18 hours | 3.6 kWh | $0.58 |
| 36 hours | 7.2 kWh | $1.15 |
For short prints, electricity is negligible. For the multi-day builds that larger models and batch plates require, it becomes a real line item. If you're running a resin printer with a curing station, add the UV curing energy too — typically 10-15 minutes at 40-60W per batch.
You don't need to measure this per print. Estimate your printer's average wattage once (check the specs or use a plug-in power meter — they cost $15 and pay for themselves immediately), then let your slicer's time estimate do the rest.
Layer 3: Wear Parts and Consumables
Your printer eats parts. Slowly, predictably, and expensively enough that you should be tracking them.
Nozzles. A brass nozzle lasts roughly 200-500 print hours with standard PLA. Switch to abrasive filaments — carbon fiber, glow-in-the-dark, wood-fill — and you'll burn through a brass nozzle in 20-50 hours. Hardened steel nozzles last longer (1,000+ hours) but cost 3-5x more upfront.
Build surfaces. PEI sheets, glass beds with adhesive, and magnetic flex plates all wear out. A PEI sheet might last 6-12 months of daily use before adhesion degrades. A replacement runs $15-40 depending on your printer.
Bowden tubes, drive gears, belts, and bearings all have lifespans measured in hundreds to thousands of hours.
Here's how to turn this into a per-hour wear cost:
| Part | Cost | Lifespan | Cost Per Print Hour |
|---|---|---|---|
| Brass nozzle (standard filament) | $2.00 | 400 hours | $0.005 |
| Brass nozzle (abrasive filament) | $2.00 | 40 hours | $0.050 |
| Hardened steel nozzle | $8.00 | 1,200 hours | $0.007 |
| PEI spring steel sheet | $25.00 | 1,500 hours | $0.017 |
| Bowden tube | $6.00 | 600 hours | $0.010 |
| Belt set | $10.00 | 2,000 hours | $0.005 |
Add up the parts relevant to your setup and you'll get a wear cost somewhere between $0.02 and $0.08 per print hour. For a 10-hour print, that's $0.20-$0.80. Not huge on its own, but it adds up across hundreds of prints — and if you're ignoring it, you're slowly cannibalizing your equipment budget.
Layer 4: Failed Prints
This is the cost nobody wants to talk about. Prints fail. The first layer doesn't stick. The supports collapse at hour six. The power flickers. The filament tangles. You come back to a pile of spaghetti that consumed 8 hours of electricity and 40 grams of material with nothing to show for it.
What's your failure rate? Be honest. For a well-tuned printer running proven files, it might be 3-5%. For new designs, experimental settings, or that temperamental printer you keep meaning to calibrate properly, it could be 10-20%.
A 5% failure rate means that for every 100 prints you sell, you consumed material and time for 105. A 15% failure rate means you consumed resources for 115. Your successful prints need to cover the cost of the failed ones.
The simplest way to handle this: apply a failure factor to your material and electricity costs.
Adjusted cost = Base cost / (1 - Failure rate)
If a print costs $3.00 in filament and power with a 10% failure rate:
- Adjusted cost: $3.00 / 0.90 = $3.33
That extra $0.33 per print is your insurance against the ones that don't make it. Over 200 prints, that's $66 — roughly what 2-3 failed prints actually cost you in wasted material and time.
Track your failures. Keep a simple count: prints started vs. prints completed. Review it monthly. If your failure rate is climbing, that's a signal to invest time in machine maintenance — which is cheaper than eating the waste.
Layer 5: Post-Processing Labor
A print comes off the bed. Now what?
For some products, the answer is "bag it and ship it." For many others, there's work to do: removing supports, sanding layer lines, priming, painting, assembling multi-part prints, applying inserts or hardware, quality checking. That labor is part of your cost.
Time yourself on post-processing for each product type. Don't estimate from memory — actually set a timer for your next 3-5 units and average the result. You'll probably be surprised.
| Post-Processing Task | Typical Time |
|---|---|
| Support removal (simple) | 2-5 min |
| Support removal (complex/internal) | 10-20 min |
| Sanding (basic smoothing) | 5-15 min |
| Filler primer + sand cycle (2 coats) | 20-30 min active, plus drying |
| Painting (single color + clear coat) | 15-25 min active, plus drying |
| Painting (detailed/multi-color) | 45-90 min active |
| Assembly (multi-part, glue + hardware) | 10-30 min |
| Quality check + packaging | 3-5 min |
Set a labor rate for yourself. If you're unsure what to use, $20-30/hour is a reasonable starting point for skilled manual work. A miniature that takes 45 minutes to clean, prime, paint, and base coat costs $10-15 in labor alone — often more than the filament, electricity, and wear parts combined.
If you're selling unfinished prints, your post-processing time is low. If you're selling painted miniatures, cosplay parts, or functional assemblies, labor is likely your largest single cost. Ignoring it means you're working for free.
Layer 6: Machine Depreciation
Your printer cost money. It won't last forever. Depreciation is the cost of using it up, spread across its productive lifetime.
A $300 Ender-style printer might run reliably for 2,000-4,000 print hours. A $1,200 prosumer machine might run for 5,000-8,000 hours. A $3,000+ multi-tool or resin setup could last 6,000-10,000 hours with proper maintenance.
Depreciation per hour = (Purchase price - Salvage value) / Expected print hours
| Printer | Purchase Price | Salvage Value | Expected Hours | Cost Per Hour |
|---|---|---|---|---|
| Entry-level FDM | $250 | $25 | 3,000 | $0.075 |
| Mid-range FDM | $600 | $50 | 5,000 | $0.110 |
| Prosumer FDM | $1,200 | $100 | 7,000 | $0.157 |
| Desktop resin (MSLA) | $400 | $30 | 3,000 | $0.123 |
For a 10-hour print on a mid-range FDM machine, depreciation adds $1.10 to your cost. That's the portion of your printer's lifespan you just consumed. When you eventually replace it, the money needs to come from somewhere — and it should come from the prices you've been charging all along, not from your savings.
If you've already been tracking equipment depreciation for other tools in your workshop, this is the same concept applied to your printers.
Stacking It Up: The True Cost of a Print
Let's put all six layers together for a real example. Say you're selling a 3D-printed desk organizer — 150g of PETG, 14-hour print time, 20 minutes of support removal and light sanding, 5% failure rate, mid-range FDM printer.
| Cost Layer | Calculation | Amount |
|---|---|---|
| Filament | 150g x $0.028/g | $4.20 |
| Electricity | 200W x 14hr / 1000 x $0.16 | $0.45 |
| Wear parts | $0.04/hr x 14hr | $0.56 |
| Failed print buffer | ($4.20 + $0.45) / 0.95 - ($4.20 + $0.45) | $0.24 |
| Post-processing labor | 20 min @ $25/hr | $8.33 |
| Machine depreciation | $0.11/hr x 14hr | $1.54 |
| Total cost | $15.32 |
If you priced this based on filament alone, you'd think it costs $4.20 to make. The true cost is $15.32 — nearly 4x higher. At a selling price of $25, your real margin is $9.68 (39%), not $20.80 (83%). Still profitable, but a very different number than the one you'd get from filament-only math.
Now consider a painted miniature: 12g of PLA ($0.26 in filament), but 45 minutes of post-processing labor ($18.75 at $25/hr). The material is almost irrelevant — labor is 98% of the cost. Pricing that miniature at $8 because "it's barely any plastic" is pricing yourself into a loss.
Making This Manageable
You don't need to run this calculation by hand for every product. Do it once per product type, save it, and update when your inputs change — filament price, electricity rate, or failure rate.
A tool like Ardent Seller can store your filament inventory with cost-per-gram, track your recipes with material quantities and labor time, and calculate the total cost per unit automatically. When your PETG supplier raises prices or you switch to a more efficient printer, update the input once and every product using it recalculates instantly.
The point isn't to obsess over fractions of a cent. The point is to know — not guess — what each product costs you to produce, so you can set prices that actually sustain your business. The sellers who burn out aren't the ones making bad products. They're the ones who never realized how much those products actually cost to make.
Start with your top 5 sellers. Calculate the full six-layer cost for each one. If the numbers look different from what you expected, you just found money — either margins you can protect or losses you can stop. Either way, you're making decisions from data instead of vibes, and that's the difference between a 3D printing hobby and a 3D printing business.
Ready to track your filament, calculate true cost per part, and stop guessing on pricing? Try Ardent Seller free — it's built for exactly this kind of per-unit cost tracking.
Free resources
A few free downloads from the Ardent Workshop library that pair well with this post:
- Product Pricing Calculator (Excel) — Once you have the cost-per-part number from this post, drop it into the calculator with packaging, shipping supplies, and the Etsy or Shopify fee %. Suggested retail comes back with platform fees netted out — so the margin you target after a 14-hour print is the margin you actually keep.
- Small Business Tax Deduction Cheat Sheet — A Schedule C walkthrough that covers depreciation on your printer, COGS treatment for filament, and the home-office allocation most 3D-printing sellers leave on the table.
- Craft Seller Startup Checklist — Inventory setup, pricing, and the legal essentials in one place — useful once your cost-per-part math has you ready to formalize the business side.
This article is provided for educational purposes only and does not constitute financial, tax, or business advice. Cost structures, pricing examples, and margin figures are illustrative and will vary by your specific circumstances. Consult a qualified accountant or small-business advisor before making financial decisions based on this content.